In this article, I am going to guide you how to Replace the certificate for vDIM (VMware Identity Manager Integration)
You have to SSH to the Appliance and type to su become a root.
Run the OpenSSL command with the config file (pre-defined certificate config file)openssl req -new -keyout wsa001.key -out wsa001.csr
oropenssl req -new -config wsa001.cnf -keyout wsa001.key -out wsa001.csr
export .csr and .key file
Open the wsa001.csr CSR file in a notepad – “select all” + copy + paste into the Certificate Authority Web
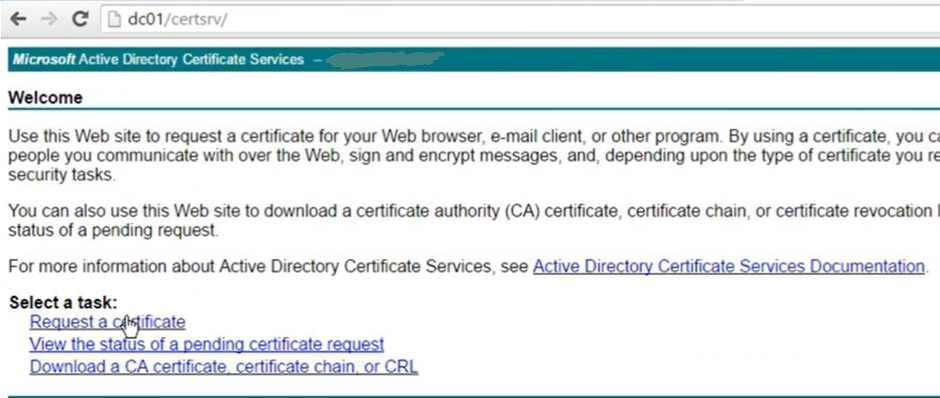
Launch Certificate Authority Web
click on “request a certificate
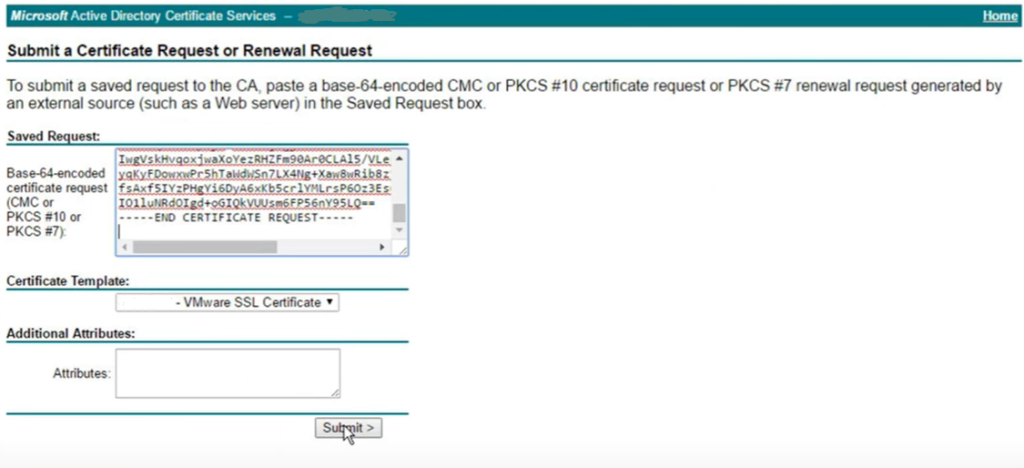
copy and paste the content from the “wsa001.csr” (opened in NotePad) into the box identifed next to
“Base-64-encoded cert request”
select the certificate template (if a specific template hasn’t been created, select “Web Server” as the
template)
-> click on submit
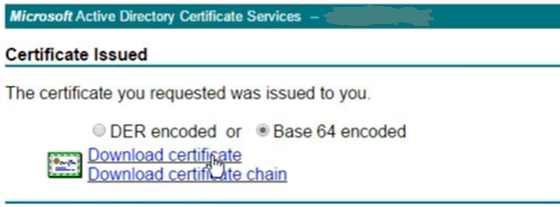
Select the “Base 64 encoded” radio button and “download the certificate” – rename to “was001.cer”
Download a Base-64 encoded rootCA certificate from Certificate Authority Web
Open WSA001.CER and RootCA in Notepad
copy the content “wsa001.CER” and paste it into the RootCA file.
copy all content (Ctrl+A and Ctrl+C)
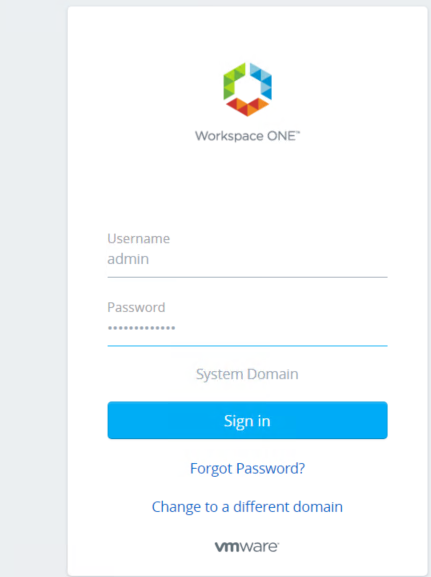
log in into WAS001 Web interface
Go to Applaince Settings and Manage Configuration
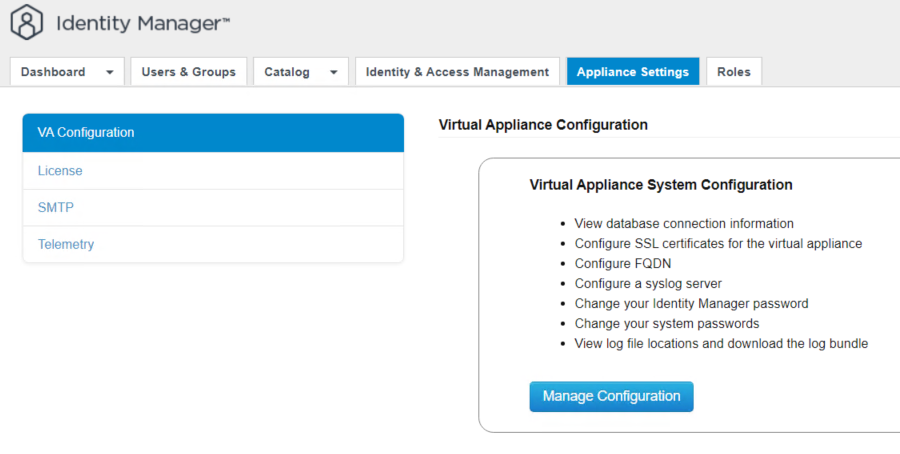
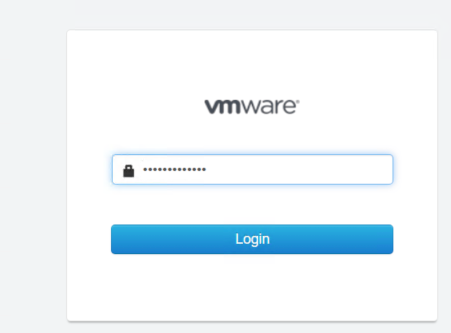
Provide password one more time
Go to Install SSL Certificate
Paste the WSA001 and RootCa content in the SSL Certificate Chain and Paste cthe ontent of Private key to the Private Key section
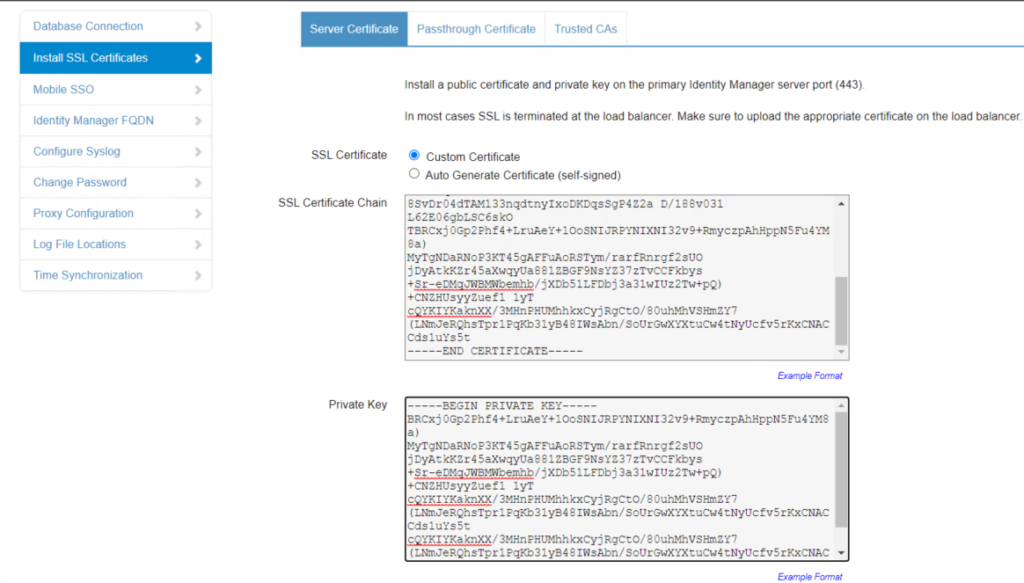
then commit the change by press Save button
confirm
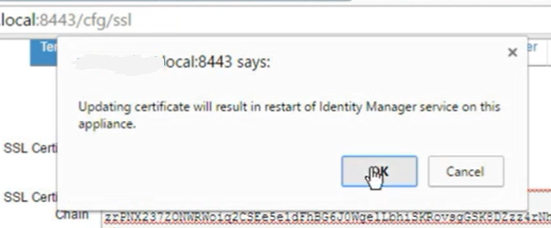
Services will be restarted
renewal of cert will break integration to a solution like NSX-T. in Part 2 I will guide you to
reconnect NSX-T again.
I hope this article has been informative. thank you for reading.
This blog was… how do you say it? Relevant!! Finally I’ve found something that helped me.
Cheers!